PocketHunter Devlog #9: GUI
As I have continued to implement more of the underlying features and logic needed for my game I have again started thinking about the game’s UI. I talked in a previous writeup about how DragonRuby utilizes a virtual grid of 24 columns by 12 rows making it straightforward to know how and where to position things in the window. Today I decided to tinker with UI a bit more and add some real images. Up until now, I had simply been drawing colored shapes for my UI.
Photoshop
I typically use Photoshop for creating or manipulating images. I will probably need to delve into something like Asperite for my game at some point but for this task I chose to stick with Photoshop.
Backpack UI
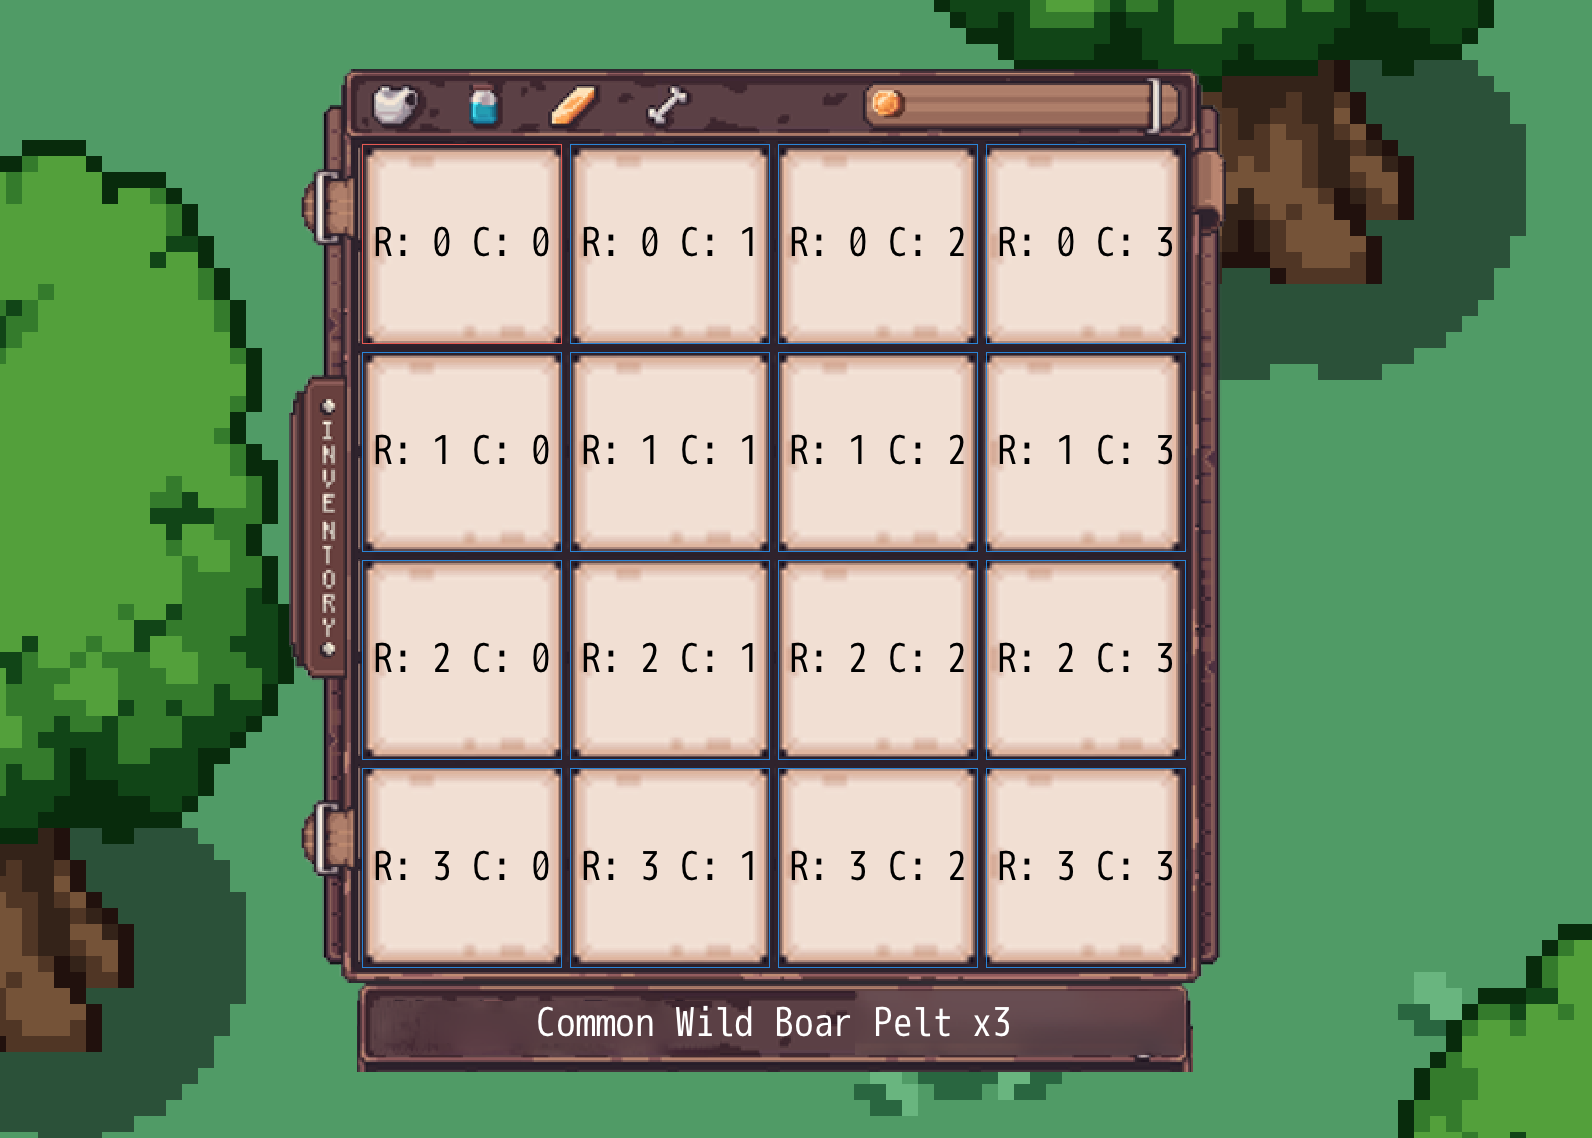
My goal was simple; utilize an image from the web of a pixel-art inventory menu and see how to go about rendering it onto my existing backpack code, meanwhile learning how to best configure future graphics for use in my DragonRuby project.
My first step was to take an image I had found online and get it setup in Photoshop with a grid that represented the DragonRuby virtual canvas grid.

After some trial and error I was able to get the image adjusted to fit nicely inside the grid.
This gave me my bearings for diving into the code. Using this visual grid in Photoshop I could see where to place the image in the window’s grid to center it with my existing backpack UI code for rendering the individual items.
Now inside my game code I created a reference to the rect and utilized that when adding my sprite to the outputs:
backpack_location = args.layout.rect(row: 2, col: 7, w: 10, h: 10)
args.outputs.sprites << { x: backpack_location.x, y: backpack_location.y, w: backpack_location.w, h: backpack_location.h, path: "sprites/backpack.png" }
I ran the game, and Voila! My Backpack has some actual UI to it.
UI, dragonruby, gamedev — Jul 8, 2024